Installation on macOS
Minimum Requirements
In order to successfully follow these installation instructions, you must have the following:
- Mac OS X Lion (10.7)
- Administrator user with the rights to change the computer properties
To check the version of your Mac OS X, go to the menu and select “About This Mac”.
Open Terminal
We’re going to do these tasks via the Terminal.
To open Terminal, first go to your Applications directory. Then, open the Utilities directory. Once you’re there, you should see the Terminal app. Double click it to open it.
Install Command-line tools
When you are installing ruby and ruby gems (libraries), your system will often need to compile code for you. The compilers for this can be installed with XCode, the development tool suite for native macOs development.
For this tutorial, you only need to install XCode’s command line tools.
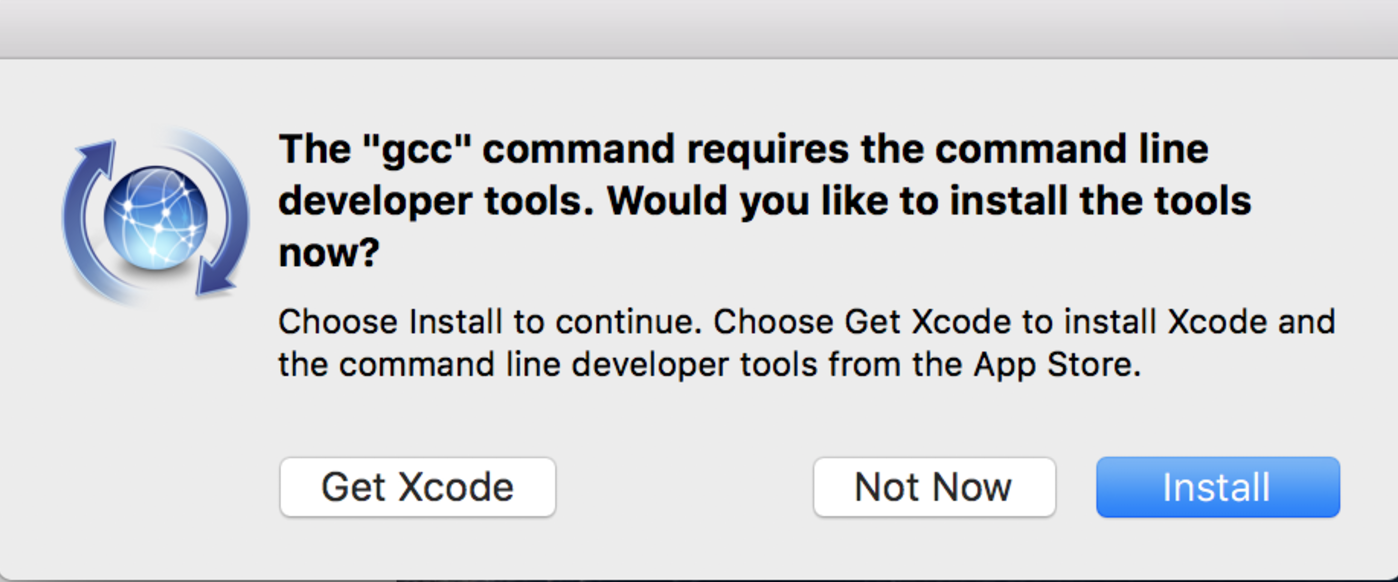
If you aren’t sure if you need this, try typing gcc in a terminal window. (gcc is the name of the compiler and stands for GNU Compiler Collection).
If you receive the below dialog saying the “gcc” tool needs to be installed, click “Install”.

Alternatively, if you get the message, -bash: gcc: command not found, or if you cancel out of the dialog, install the command-line tools with this command: xcode-select --install
This will download the command-line tools and install them. Once installed, gcc --version should print out some information about the compiler.
$ gcc --version

# After installing, check the gcc --version again.
# You should get the below message:

Configured with: --prefix=/Applications/Xcode.app/Contents/Developer/usr --with-gxx-include-dir=/usr/include/c++/4.2.1
Apple LLVM version 8.0.0 (clang-800.0.38)
Target: x86_64-apple-darwin15.6.0
Thread model: posix
InstalledDir: /Applications/Xcode.app/Contents/Developer/Toolchains/XcodeDefault.xctoolchain/usr/bin
Install Homebrew
Homebrew allows you to install and manage applications through your terminal, and it’s what we’ll be using to download RVM.
To do this, you’ll need to go to Homebrew’s website and copy and past the command that is given into your terminal prompt.
This command uses curl which is a command line tool for downloading information over the internet from your terminal. Normally this would not be advised but Homebrew is a very reputible source and used by millions of engineers around the world. So - trust us on this one :-)
After you type in the command, the script will show what you’re downloading and then ask for your computer password. Enter in your computer password when prompted. Note that you’r password will not show up when you type it - that’s normal. Just type it and press enter.
$ /usr/bin/ruby -e "$(curl -fsSL https://raw....)"

# ==> This script will install:
# /usr/local/bin/brew
# /usr/local/share/doc/homebrew
# /usr/local/share/man/man1/brew.1
# /usr/local/share/zsh/site-functions/_brew
# /usr/local/etc/bash_completion.d/brew
# /usr/local/Homebrew
# ==> The following existing directories will be made group writable:
# /usr/local/bin
# ==> The following existing directories will have their owner set to olii:
# /usr/local/bin
# ==> The following existing directories will have their group set to admin:
# /usr/local/bin
# ==> The following new directories will be created:
# /usr/local/Cellar
# /usr/local/Homebrew
# /usr/local/Frameworks
# /usr/local/etc
# /usr/local/include
# /usr/local/lib
# /usr/local/opt
# /usr/local/sbin
# /usr/local/share
# /usr/local/share/zsh
# /usr/local/share/zsh/site-functions
# /usr/local/var
#
# Press RETURN to continue or any other key to abort
# ==> /usr/bin/sudo /bin/chmod u+rwx /usr/local/bin
# Password:
Install RVM
The Ruby Version Manager (rvm) will allow you to install different versions of ruby on your machine and switch between them as you switch from one project to another. Learn why RVM is useful here.
Note, if you already have the rbenv ruby manager installed, do not install rvm (they don’t play nice together!).
You can check by typing rbenv --version in your terminal.
To install rvm, open a terminal window and run the following commands (copied directly off of the RVM website).
brew install gpg
gpg --keyserver hkp://keys.gnupg.net --recv-keys 409B6B1796C275462A1703113804BB82D39DC0E3
\curl -sSL https://get.rvm.io | bash -s stable
source /Users/[Computer Username]/.rvm/scripts/rvm
Once installed RVM will say:
Installation of RVM in /Users/[Computer Username]/.rvm/ is almost complete:

* To start using RVM you need to run `source /Users/[Computer Username]/.rvm/scripts/rvm`
  in all your open shell windows, in rare cases you need to reopen all shell windows.
Follow those instructions and copy the command and past into your terminal and press enter. Now you’ll be able to install Ruby!
$ brew install gpg  # only necessary if gpg is not already installed

$ gpg --keyserver hkp://keys.gnupg.net --recv-keys 409B6B1796C275462A1703113804BB82D39DC0E3

$ \curl -sSL https://get.rvm.io | bash -s stable

$ source /Users/[Computer Username]/.rvm/scripts/rvm # check what's outputted from previous command
Install Ruby 2.3.1
Now that you have RVM installed, you can use it to install Ruby. You simply call rvm install <version>. Let’s install the latest version (as of 12/3/2016), v2.3.1.
To verify you’re using the correct Ruby version, type ruby -v. You should have 2.3.1 as the version.
Finally, we’ll install bundler, which will manage all your Ruby gems.
$ rvm install 2.3.1

$ rvm default use 2.3.1

$ ruby -v
# => ruby 2.3.1p112 (2016-04-26 revision 54768) [x86_64-darwin15]

$ gem install bundler
Install Rails 5.0.1
Now that ruby is installed, installing rails is simple. Just install Rails with the gem command!
If that succeeds, you should be able to run rails on the command-line:
$ gem install rails -v 5.0.1 --no-document

$ rails --version
# Rails 5.0.1
Note, adding --no-document prevents the generation of local (offline) documentation. If you later decide you want local docs, you can easily recreate them (although it can be a slow process). Look here for more details.
Test it out
Now that we have everything we need installed, let’s try it out.
After you type all the commands, you should see Rails starting up at the start of the line Booting Puma. Once you see Listening on tcp://localhost:3000, Rails is now running!
  $ rails new test_rails

  $ cd test_rails

  $ rails server
  => Booting Puma
  => Rails 5.0.1 application starting in development on http://localhost:3000
  => Run `rails server -h` for more startup options
  Puma starting in single mode...
  * Version 3.6.2 (ruby 2.3.1-p112), codename: Sleepy Sunday Serenity
  * Min threads: 5, max threads: 5
  * Environment: development
  * Listening on tcp://localhost:3000
  Use Ctrl-C to stop
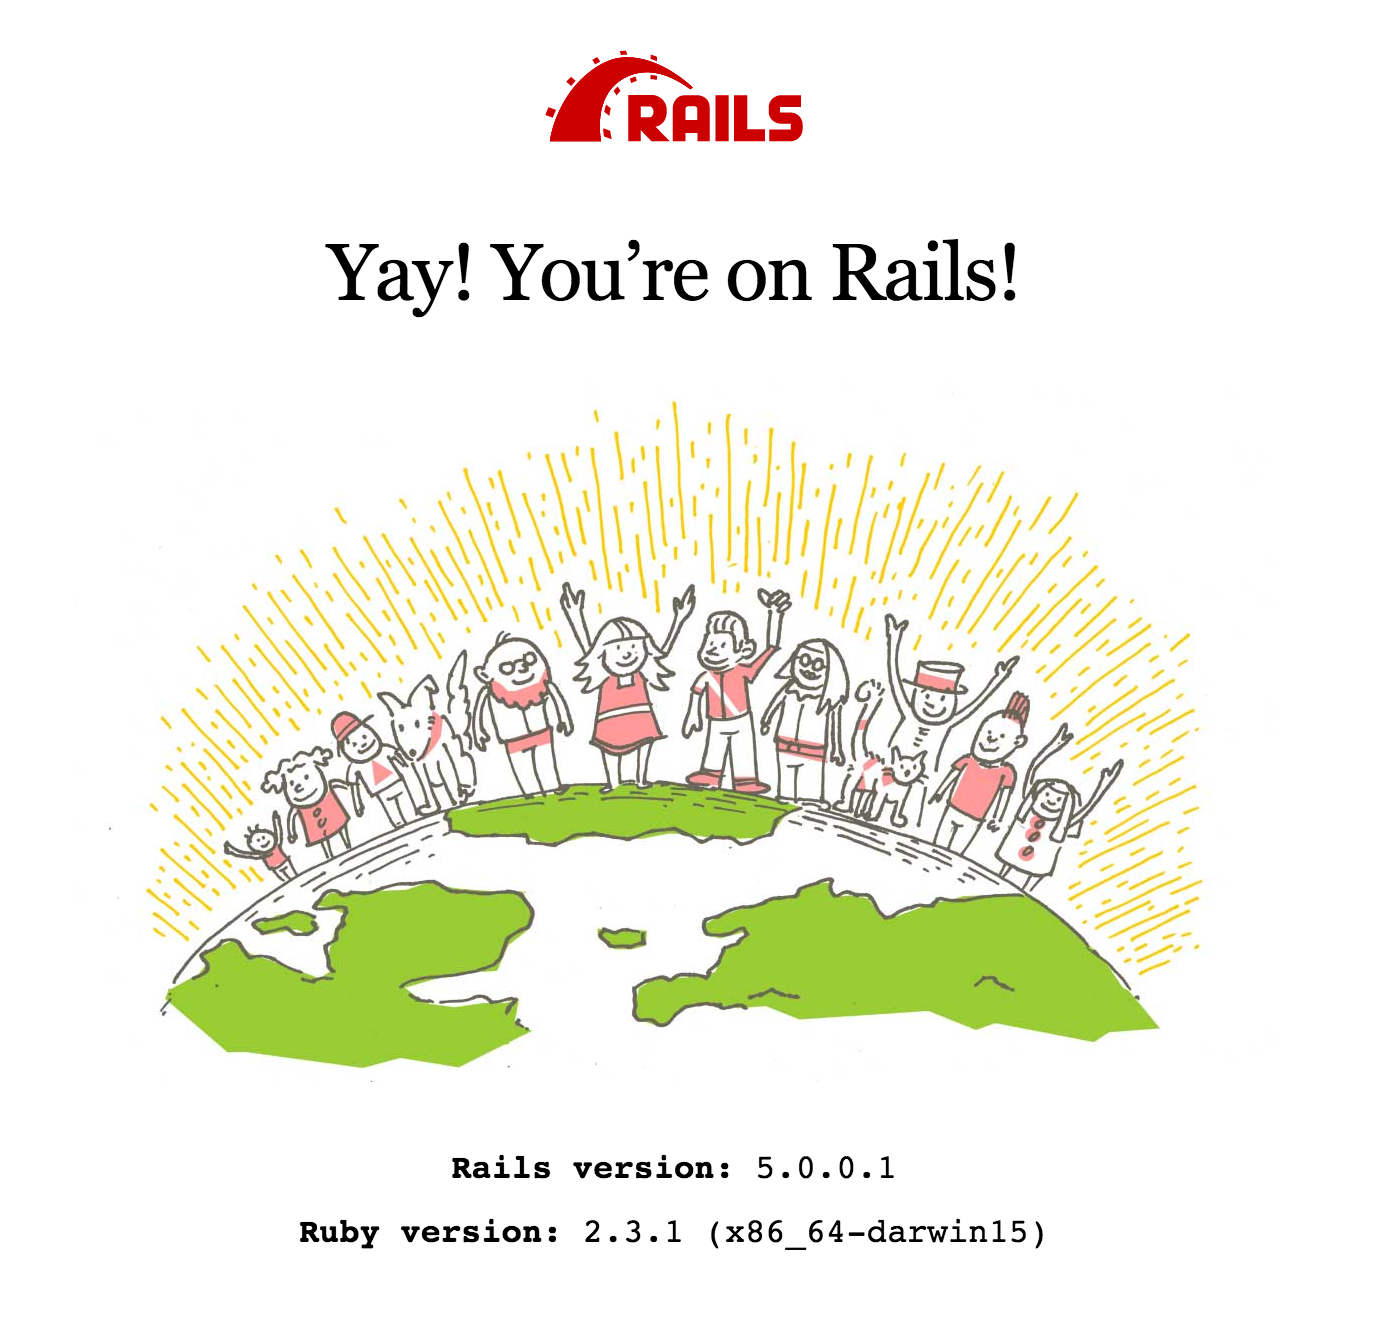
If you see the output above, rails is running and you can point your browser at http://localhost:3000 and you should see this:

This is not the directory you’ll be using in the tutorial. To remove this simply type rm -rf test_rails.