Installation on Ubuntu Linux
Minimum Requirements
In order to successfully follow these installation instructions, you must have the following:
- Ubuntu 13.04
- Administrator user with the rights to change the computer properties
Install Dependencies
To get linux ready for Ruby on Rails development, we need to do the following:
First, we’ll need to install dependencies for Ruby.
Copy and paste each command after the $ separately into the terminal. Run each one separately.
Do this for the remaining of the installation instructions.
  $ sudo apt-get update

  $ sudo apt-get install git-core curl zlib1g-dev build-essential \
    libssl-dev libreadline-dev libyaml-dev libsqlite3-dev sqlite3 \
    libxml2-dev libxslt1-dev libcurl4-openssl-dev \
    python-software-properties libffi-dev

  $ sudo apt-get install libgdbm-dev libncurses5-dev automake \
    libtool bison libffi-dev
Install Ruby (2.3.1)
The Ruby Version Manager (RVM) will allow you to install different versions of ruby on your machine and switch between them as you switch from one job to another. Learn why RVM is useful here.
To install RVM, open a terminal window and run the following commands (copied directly off of the rvm website).
Now that you have rvm installed, you can use it to install ruby. You simply call rvm install <version>. We will install the latest version (as of 12/3/2016), v2.3.1.
To verify you’re using the correct Ruby version, type ruby -v. It should return ruby 2.3.1p112 (2016-04-26 revision 54768) [x86_64-darwin15].
The last thing we’ll do is install Bundler - which will manage all your Ruby gems.
  $ gpg --keyserver hkp://keys.gnupg.net --recv-keys \
    409B6B1796C275462A1703113804BB82D39DC0E3

  $ curl -sSL https://get.rvm.io | bash -s stable

  $ source ~/.rvm/scripts/rvm

  $ rvm install 2.3.1

  $ rvm default use 2.3.1

  $ ruby -v
  # => ruby 2.3.1p112 (2016-04-26 revision 54768) [x86_64-darwin15]

  $ gem install bundler
Install Rails
Since Rails ships with so many dependencies these days, we’re going to need to install a Javascript runtime like NodeJS. This lets you use Coffeescript and the Asset Pipeline in Rails which combines and minifies your javascript to provide a faster production environment.
We’ll install NodeJS from the official repository, and then install Rails!
If that succeeds, you should be able check the version - which should be 5.0.1
  $ curl -sL https://deb.nodesource.com/setup_4.x | sudo -E bash -

  $ sudo apt-get install -y nodejs

  $ gem install rails 5.0.1 --no-document

  $ rails --version
Note, adding --no-document prevents the generation of local (offline) documentation. If you later decide you want local docs, you can easily recreate them (although it can be a slow process). Look here for more details.
Test it out
Now that we have everything we need installed, let’s try it out.
After you type all the commands, you should see Rails starting up at the start of the line Booting Puma. Once you see Listening on tcp://localhost:3000, Rails is now running!
$ rails new test_rails
$ cd test_rails
$ rails server
=> Booting Puma
=> Rails 5.0.1 application starting in development on http://localhost:3000
=> Run `rails server -h` for more startup options
Puma starting in single mode...
* Version 3.6.2 (ruby 2.3.1-p112), codename: Sleepy Sunday Serenity
* Min threads: 5, max threads: 5
* Environment: development
* Listening on tcp://localhost:3000
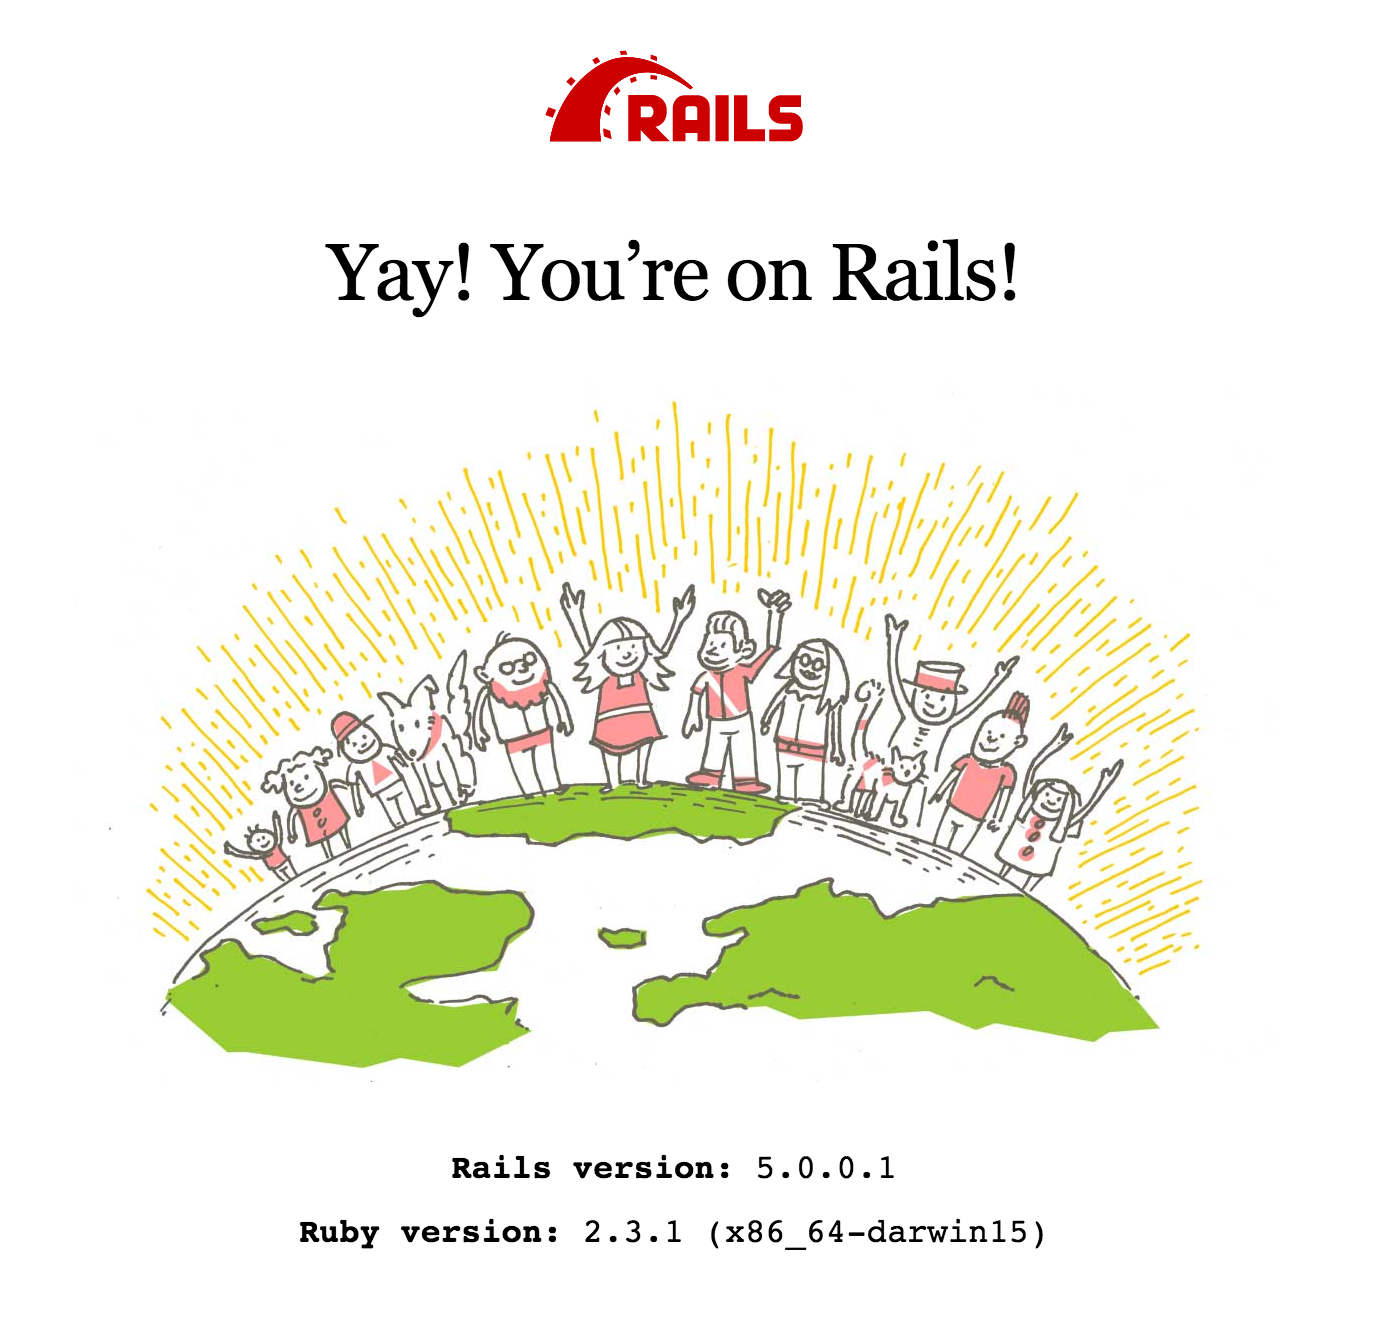
Use Ctrl-C to stopIf you see the output above, rails is running and you can point your browser at http://localhost:3000 and you should see this:
This is not the directory you’ll be using in the tutorial. To remove this simply type rm -rf test_rails.
Don’t forget to check out some cool development tools!